
How to Measure, Cut and Install Baseboards
Measure, plan and install baseboards with cleaner joints, accurate material quantities and a complete trim shopping list.
Baseboards cover the floor-to-wall joint and give a room a finished visual line. The work is simple in principle, but long material, imperfect walls and compound corners reward planning. A room measured carefully before the saw comes out will have fewer short pieces, fewer visible joints and less waste.
Choose trim height and profile in relation to the room rather than in isolation. Taller profiles can suit high ceilings but may interfere with low outlets, built-ins or existing door casing. If the casing is thinner than the proposed baseboard, plan a return or transition instead of leaving the baseboard proud.
MDF is straight, smooth and economical for dry interiors. Wood handles impact and moisture differently and can be stained. In basements, entrances and bathrooms, confirm that the trim material and finish are appropriate for the environment.
Measure the project
Measure every wall receiving trim and subtract only wide openings where no baseboard will run.
Add 10% for square rooms and 15% for many corners, long walls or patterned profiles.
Map stock lengths onto the longest walls first to minimize joints in prominent sightlines.
Choose a fastener long enough to pass through trim and wall finish into framing without threatening concealed services.
Shop the material list
Choose products that match the exact room conditions and manufacturer instructions. These catalogue picks give you a practical starting point.
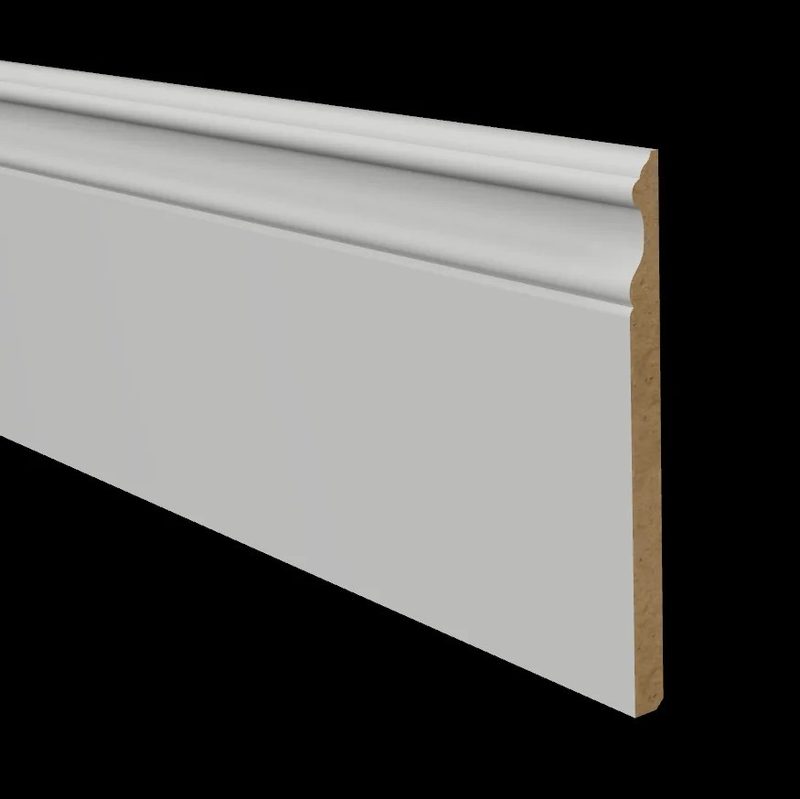
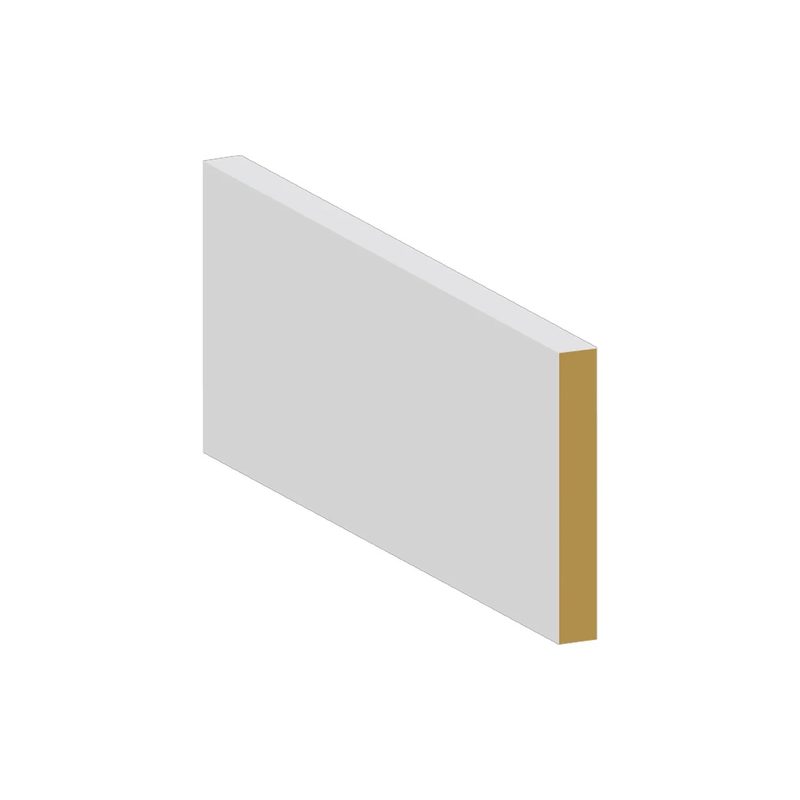
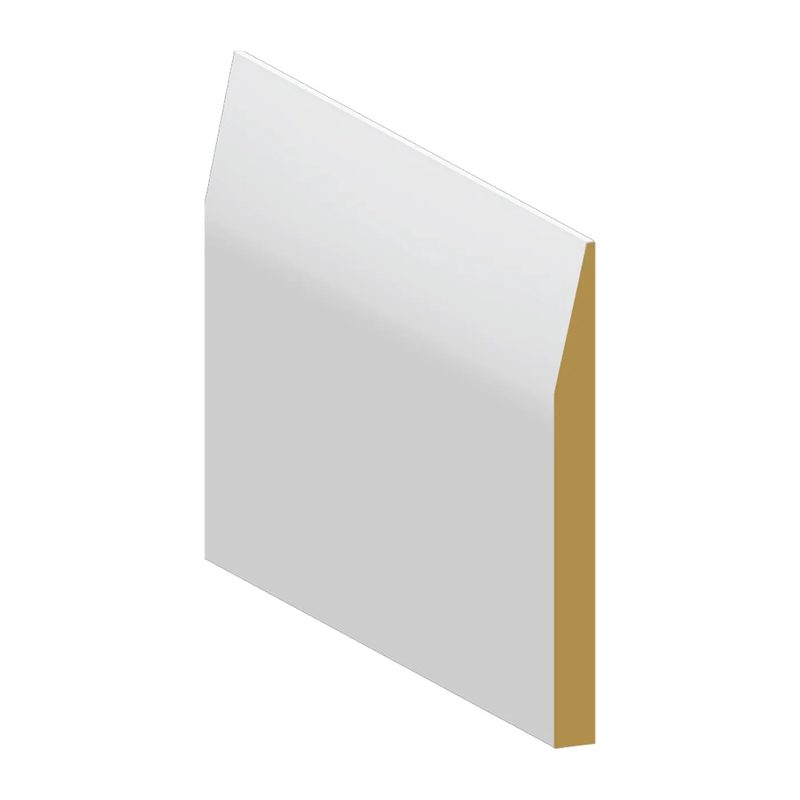

Have these ready
- Tape measure
- Pencil
- Mitre saw
- Coping saw
- Stud finder
- Level
- Nailer or hammer
- Nail set
- Wood filler
- Paintable caulk
Build it in the right order
Map and label the room
Sketch the room from above and number every wall. Record each length at the floor where the trim will sit. Mark inside corners, outside corners, door openings and obstacles. Identify the main sightline so seams can be moved to less visible walls.
Condition and pre-finish
Store trim flat in the room long enough to reach stable indoor conditions. Prime bare material on all required faces and apply the first finish coat before installation when practical. Pre-finishing reduces brushwork against the floor and wall.
Cut the first wall
Start on a simple wall and work around the room in a consistent direction. Test saw settings on scrap. For inside corners, coping one profile over a square-cut mating board often hides small wall-angle errors better than two mitres. Use mitres on outside corners and test-fit both pieces together.
Fasten into structure
Locate studs and keep fasteners away from likely pipes and wires. Hold the baseboard firmly to the floor or established reveal and fasten into framing. On long walls, join boards with a scarf joint positioned over a stud rather than a square butt joint.
Fill and seal selectively
Set proud nail heads and fill them with material suited to the trim. Sand once dry. Use a narrow bead of paintable caulk at small wall gaps and joints intended to disappear. Do not use caulk to disguise a poorly fitted outside corner or fill movement joints that must remain open.
Apply the final finish
Protect the floor, lightly sand filled areas and remove dust. Apply the finish coat, maintaining a wet edge along each board. Remove masking before the coating fully hardens and keep spare labelled paint for future impact repairs.
Common mistakes
Measuring only once
Measure at the actual installation height and label each wall; opposing walls are rarely identical.
Joining boards in open sightlines
Plan full lengths for the walls seen first and place unavoidable scarf joints over studs.
Assuming corners are 90 degrees
Test-fit, cope inside joints where useful and adjust mitres to the real wall angle.
Over-caulking
Large beads soften profiles and collect dust. Better cuts and thin finish lines look more professional.
Project FAQ
Should baseboards touch the floor?
On hard flooring they are usually installed close to the surface while respecting the flooring system. Carpet installations may use a controlled gap based on carpet thickness.
Should I cope or mitre inside corners?
Coped joints are forgiving when walls move or are out of square. Mitres can work on simple profiles when angles are accurately measured.
Can MDF baseboard be used in a bathroom?
Only if the product and finish are suited to that exposure. Water at cut edges or the floor can swell standard MDF, so consider moisture-resistant alternatives.