
How to Install Vinyl Plank Flooring
A practical vinyl plank flooring installation plan covering layout, subfloor checks, waste calculations, expansion gaps and product selection.
Luxury vinyl plank is approachable for a careful DIY installer, but it does not hide a poor subfloor. Flatness, layout and clean locking joints matter more than speed. This blueprint helps you estimate material, plan the first row and avoid the narrow strips and repeating patterns that make an otherwise sound floor look amateur.
Read the flooring manufacturer’s instructions before opening every carton. Requirements for acclimation, underlayment, expansion clearance, maximum continuous run and installation over radiant heat vary. Those instructions always take priority over general guidance.
For basements and concrete slabs, investigate moisture before choosing the assembly. Flooring advertised as waterproof can still trap moisture below it, affecting underlay, adhesives, base materials and indoor air quality.
Measure the project
Multiply length by width for each rectangular section, then add the sections together.
Add 7–10% waste for straight layouts and 12–15% for diagonal rooms or many cuts.
Divide room width by plank width; adjust the starting row so the final row is not a narrow strip.
Follow the manufacturer’s specified perimeter clearance and maintain it at walls, posts and fixed cabinetry.
Shop the material list
Choose products that match the exact room conditions and manufacturer instructions. These catalogue picks give you a practical starting point.
Have these ready
- Tape measure
- Pencil and square
- Utility knife or approved cutter
- Pull bar
- Tapping block
- Spacers
- Rubber mallet
- Vacuum
- Knee protection
Build it in the right order
Confirm the room is suitable
Check the product’s temperature, moisture and subfloor requirements. Remove loose flooring, fasteners and debris. Test several areas with a long straightedge; high seams and low spots can prevent click joints from seating and may cause movement later.
Plan direction and row width
Planks commonly run with the longest sightline or the main source of natural light, but room shape and transitions may suggest another direction. Measure across the room and calculate the final-row width. Split the difference between the first and last rows when the last row would be too narrow.
Mix the cartons
Open several cartons and sort planks by tone and pattern. Pull from multiple boxes as you work to distribute variation. Set aside distinctive repeats so identical boards do not land beside each other.
Build a straight first row
Place perimeter spacers and connect the first row carefully. A small angle error compounds across the room. Trim the first or last plank so end joints in the next rows can be staggered according to the manufacturer’s minimum. Do not use damaged locking edges.
Continue while checking joints
Engage the long edge and then the end joint using the specified method. Use a tapping block only where permitted and never strike the locking profile directly. Look back every few rows for gaps, pattern repeats and drift from the control line.
Finish transitions and trim
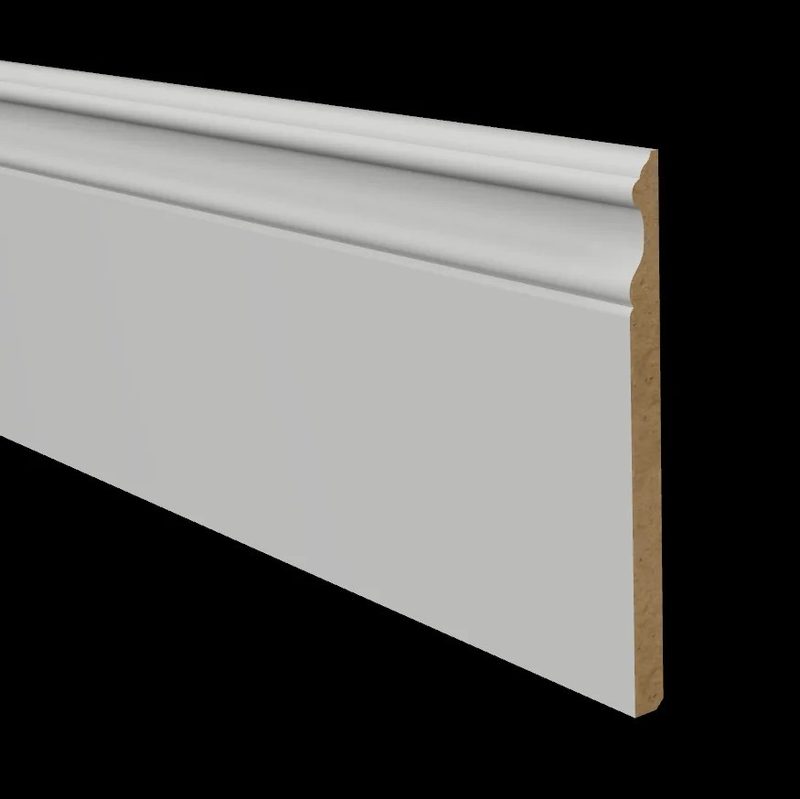
Undercut door casings where appropriate so flooring can slide beneath while retaining movement clearance. Install the transition profile required at adjoining surfaces. Reinstall or replace baseboards fastened to the wall—not through the floating floor.
Common mistakes
Skipping the flatness check
A visually smooth floor can still have dips that stress click joints. Measure with a long straightedge.
Starting with a full plank automatically
Planning both edge rows produces a balanced room and avoids an impractical final strip.
Forcing a joint closed
A joint that resists may contain debris or have a damaged profile. Pull it apart, inspect it and replace the board if needed.
Fastening through the floor
A floating floor must move. Trim and fixtures should not trap the planks unless the manufacturer specifies otherwise.
Project FAQ
Does vinyl plank need underlayment?
Some products include an attached pad; others require or prohibit separate underlay. Match the assembly to the exact product and subfloor instructions.
Can I install vinyl plank in a basement?
Often yes, but first verify slab moisture, floor flatness, temperature range and the manufacturer’s below-grade approval.
How soon can furniture go back?
Follow the product guidance. Floating click floors can often accept normal traffic promptly, while adhered products require the stated adhesive cure time.