
How to Paint a Room: A Complete DIY Plan
Plan, prep and paint a room properly with a measurable material list, Ontario-friendly drying advice and products selected for each stage.
A good paint job is mostly preparation. The rolling goes quickly; protecting the room, repairing the walls, choosing the right sheen and allowing enough drying time determine whether the finish looks clean six months later. This plan breaks the work into a sequence you can finish over a weekend without rushing the coats.
Start by defining the room, not the paint colour. Note wall material, current sheen, stains, repairs, humidity and how much daily wear the surface receives. Kitchens, bathrooms and busy hallways need a more washable finish than a low-traffic bedroom. Fresh drywall and repaired areas also absorb paint differently, so primer may be part of the job even when the existing colour is light.
Ontario conditions matter. In winter, cold exterior walls and low indoor humidity can change how paint levels and dries. In summer, open windows may add humidity rather than remove it. Keep the room within the coating manufacturer’s temperature range, move air gently, and never point a strong fan directly at a freshly rolled wall.
Measure the project
Add the length of all walls, multiply by ceiling height, then subtract large doors and windows.
One gallon typically covers about 350–400 sq. ft. for one coat on a smooth, sealed wall. Plan for two finish coats.
Use one gallon per 300–400 sq. ft.; porous drywall and strong colour changes may require more.
Add 10% for texture, touch-ups and the paint left in trays and rollers.
Shop the material list
Choose products that match the exact room conditions and manufacturer instructions. These catalogue picks give you a practical starting point.
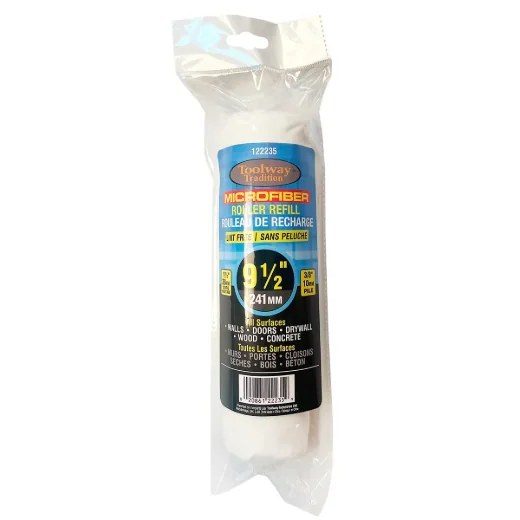
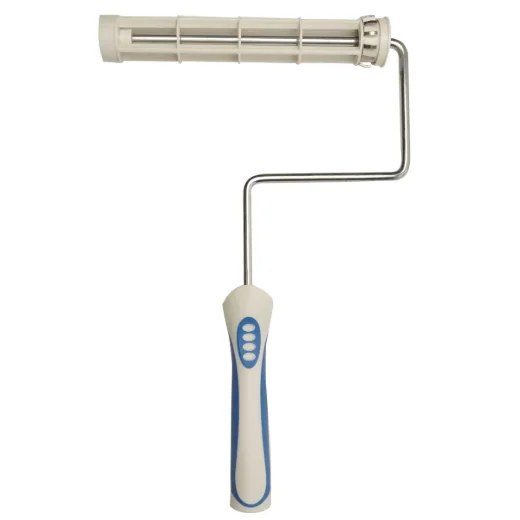
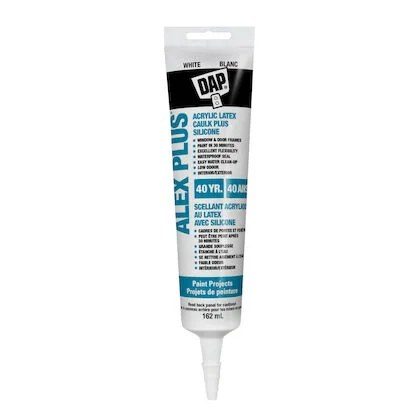
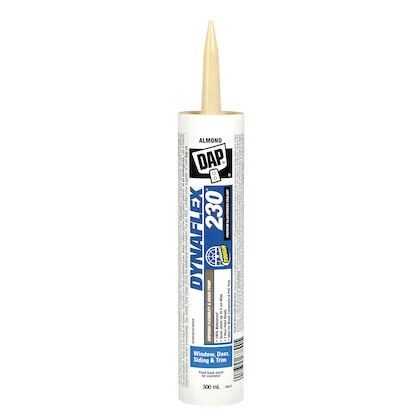
Have these ready
- Drop cloths
- Painter’s tape
- 2½-inch angled brush
- Roller tray and liner
- Extension pole
- Putty knife
- Sanding sponge
- Clean rags
- Work light
Build it in the right order
Clear and inspect the room
Move furniture out or group it in the centre with walking space on every side. Remove outlet covers, switch plates, curtain hardware and loose wall hooks. Use a portable work light held close to the wall; side lighting reveals dents, ridges and previous drips that overhead lighting hides.
Clean before repairing
Vacuum dust from baseboards and corners, then wash greasy or frequently touched areas with a mild cleaner. Rinse residue with clean water and allow the surface to dry. Filling over dust or soap residue produces repairs that can release under sanding or paint.
Fill, sand and spot-prime
Use patching compound for nail holes and shallow dents, applying thin layers rather than one heavy mound. When dry, sand the patch flush and feather its edge beyond the repair. Prime exposed drywall paper, compound and persistent stains so they do not flash through the finish coat.
Protect the edges
Cover the floor completely, not only the perimeter. Mask hardware or surfaces that cannot be removed. Painter’s tape works best on clean, dry surfaces; press its edge firmly and remove it while the final coat is still slightly soft. Use caulk only where two finished surfaces meet and the joint is intended to be sealed.
Cut in and roll the first coat
Stir the paint thoroughly. Cut one wall at a time so the brushed edge remains wet when you roll. Load the roller evenly, then work in sections roughly three feet wide. Spread paint in overlapping passes and finish with light strokes in one direction. Do not keep working paint once it begins to tack.
Dry, inspect and finish
Wait the full recoat time on the can; surface dryness is not the same as cure. Inspect with side lighting, lightly sand isolated nibs and remove dust. Apply the second coat with the same sequence. Keep leftover paint labelled with the room, colour, finish and date for future repairs.
Common mistakes
Buying exactly one-coat coverage
Real walls, colour changes and touch-ups consume more paint than the theoretical area. Plan two coats and a small reserve.
Painting over glossy surfaces
Clean and scuff glossy coatings or use an appropriate bonding primer so the new layer can grip.
Letting the roller run dry
A dry roller leaves texture and lap marks. Reload before it begins to sound sticky.
Rushing the second coat
Recoating too early can lift or wrinkle the first coat and extend the total cure time.
Project FAQ
Do I need primer before painting?
Prime new drywall, bare repairs, stains, glossy problem surfaces and major colour changes. A sound wall in a similar colour may only need cleaning and two finish coats.
What roller nap should I use?
Use a shorter cover on very smooth walls and a deeper cover as texture increases. A 10 mm microfiber cover is a practical starting point for many interior walls.
Should I paint the ceiling or walls first?
Paint the ceiling first, then walls, then trim. That sequence makes it easier to correct small splashes and create clean final cut lines.