
How to Replace a 24-Inch Bathroom Vanity
Measure, remove and replace a compact bathroom vanity with a practical plumbing checklist, installation sequence and product-led shopping list.
A 24-inch vanity is common in powder rooms and compact bathrooms, but matching the cabinet width is only the beginning. The new cabinet must clear the door swing, trim and toilet while its sink and drawers work around the existing supply valves and drain.
Photograph the plumbing before disconnecting anything. Measure from finished floor and both side walls to the drain centreline and each shutoff. Compare those positions with the open space inside the proposed cabinet. Moving plumbing may require a licensed plumber and can change the project schedule substantially.
Bathrooms in Ontario must satisfy applicable plumbing and electrical requirements. This guide covers general planning and finish work; manufacturer instructions, local requirements and the conditions behind the old cabinet always take priority.
Measure the project
Measure width, height and depth at several points; walls and floors may not be square.
Record the height and side-wall offset of the drain and both supply valves.
Check entry door, cabinet doors, drawers, toilet and floor register through their full movement.
Confirm the countertop opening, faucet-hole pattern, drain size and backsplash height as one assembly.
Shop the material list
Choose products that match the exact room conditions and manufacturer instructions. These catalogue picks give you a practical starting point.
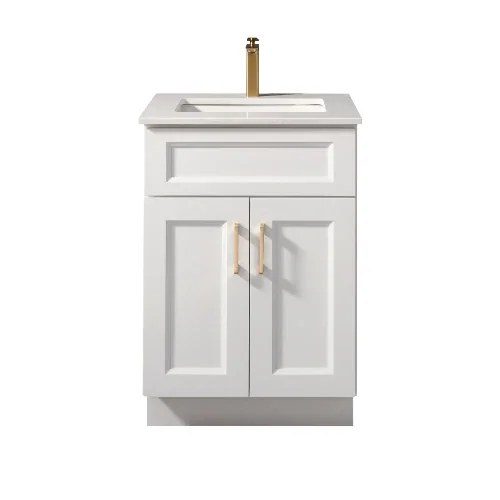
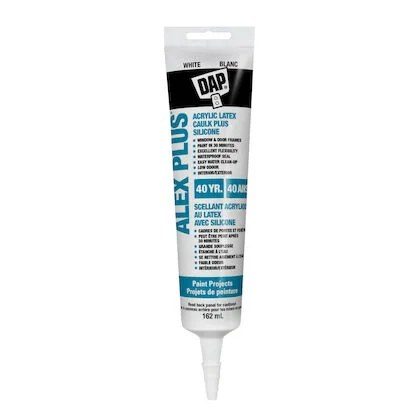
Have these ready
- Tape measure
- Level
- Stud finder
- Adjustable wrench
- Basin wrench
- Bucket and towels
- Drill and driver
- Appropriate wall fasteners
- Utility knife
- Manufacturer-approved bathroom sealant
Build it in the right order
Map the room and plumbing
Measure the available wall width at the floor, cabinet top and backsplash height. Mark supply, drain and stud positions. Compare the drawing with the exact cabinet interior so a drawer or back panel does not collide with plumbing.
Shut down and remove carefully
Close the fixture shutoffs and confirm flow has stopped. Disconnect supply lines and the trap over a bucket. Cut old sealant before lifting the top. Locate fasteners securing the cabinet to the wall and remove them without damaging concealed services.
Repair and establish level
Address moisture damage before covering it. Locate framing, mark a level reference and dry-fit the cabinet. Shim beneath structural cabinet edges rather than twisting the box to follow an uneven floor.
Fasten and connect the assembly
Secure through approved cabinet rails into framing or suitable anchors. Install the top, faucet and drain in the order specified by their manufacturers. Reconnect the trap without forcing misaligned parts and use new supply connectors where appropriate.
Seal and finish
Use the sealant specified for joints at the wall, backsplash and sink. Keep beads narrow and continuous. Reinstall trim, touch up paint and allow the stated cure time before exposing sealed joints to water.
Common mistakes
Buying by width alone
Depth, door swing, plumbing and top compatibility can make a nominally correct cabinet unusable.
Hiding moisture damage
Soft drywall, staining or a swollen floor should be investigated before the new cabinet is installed.
Forcing the drain into place
Stressed or poorly aligned fittings are more likely to leak; revise the connection correctly.
Using one sealant everywhere
Paintable trim caulk and bathroom wet-area sealants serve different joints.
Project FAQ
Can I reuse the old faucet?
Only when its hole pattern, supply connections, condition and dimensions match the new top.
Does a vanity need to fasten to studs?
Follow the cabinet instructions; secure attachment to framing or correctly rated anchors is normally essential.
When should I call a plumber?
Get qualified help when shutoffs fail, plumbing must move, leaks or damage are discovered, or local requirements place the work outside permitted DIY scope.